Web Development Environment using Devilbox
I’ve always been using WAMP as my local dev environment for a quite amount of time while i was using Windows OS, then I switched to Mac OS and used MAMP for a while. That was the case until one of my colleagues recommended devilbox. I gave it a try, and since then I’ve been using it as my local dev environment.
What is the Devilbox
No, it does not has to do anything with the devil. As the author describes it in the official website
The Devilbox is a modern and highly customisable dockerized PHP stacksupporting full LAMP and MEAN and running on all major platforms. The main goal is to easily switch and combine any version required for local development.
You don’t have to worry if your Operating System will support it. The Devilbox supports Linux, Mac, and Windows OS!
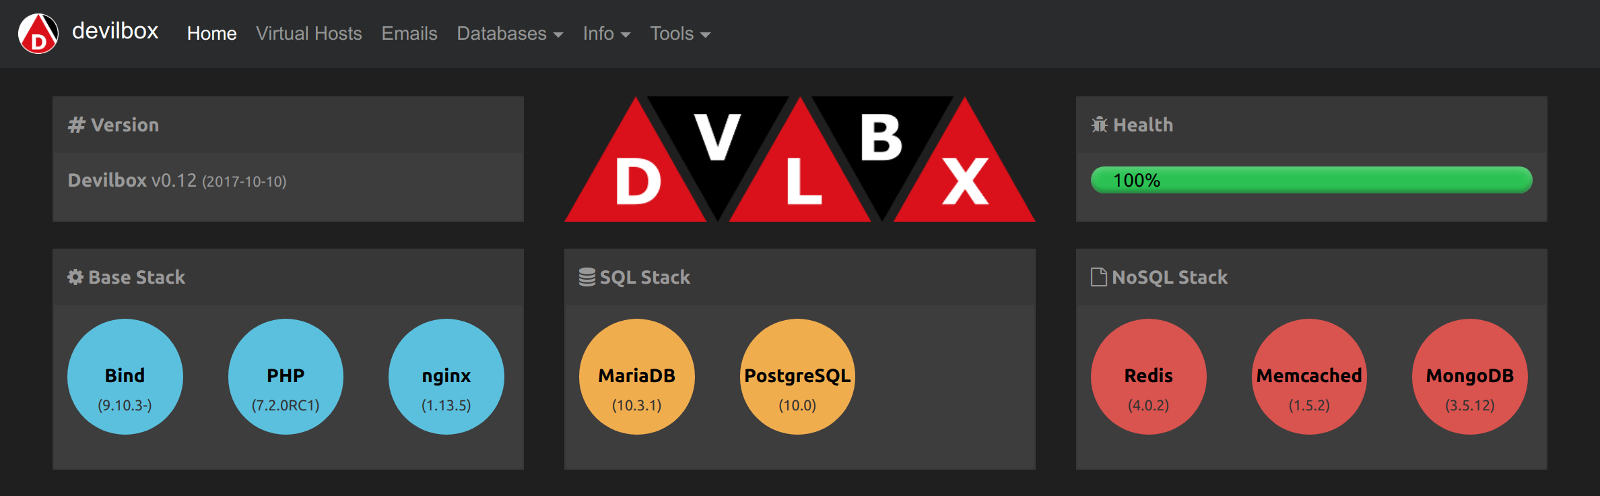
The Devilbox is running
Requirements
- Computer with decent specs
- Internet Connection
- Docker Installed
- Git Installed
I do believe I do not need to go through the first 2 requirements 😃.
To use the Devilbox you will need to have Docker installed on your computer. For the sake of this article and because I am using Mac OS I will show you how to download and install Docker for Mac.
Install Docker
There are many ways to install Docker for Mac
One way is to head to https://docs.docker.com/v17.12/docker-for-mac/install/#download-docker-for-macand click Get Docker for Mac (the preferable version is always stable). When the download is finished open the Docker.dmg the file you just downloaded and follow the instructions to complete the installation.
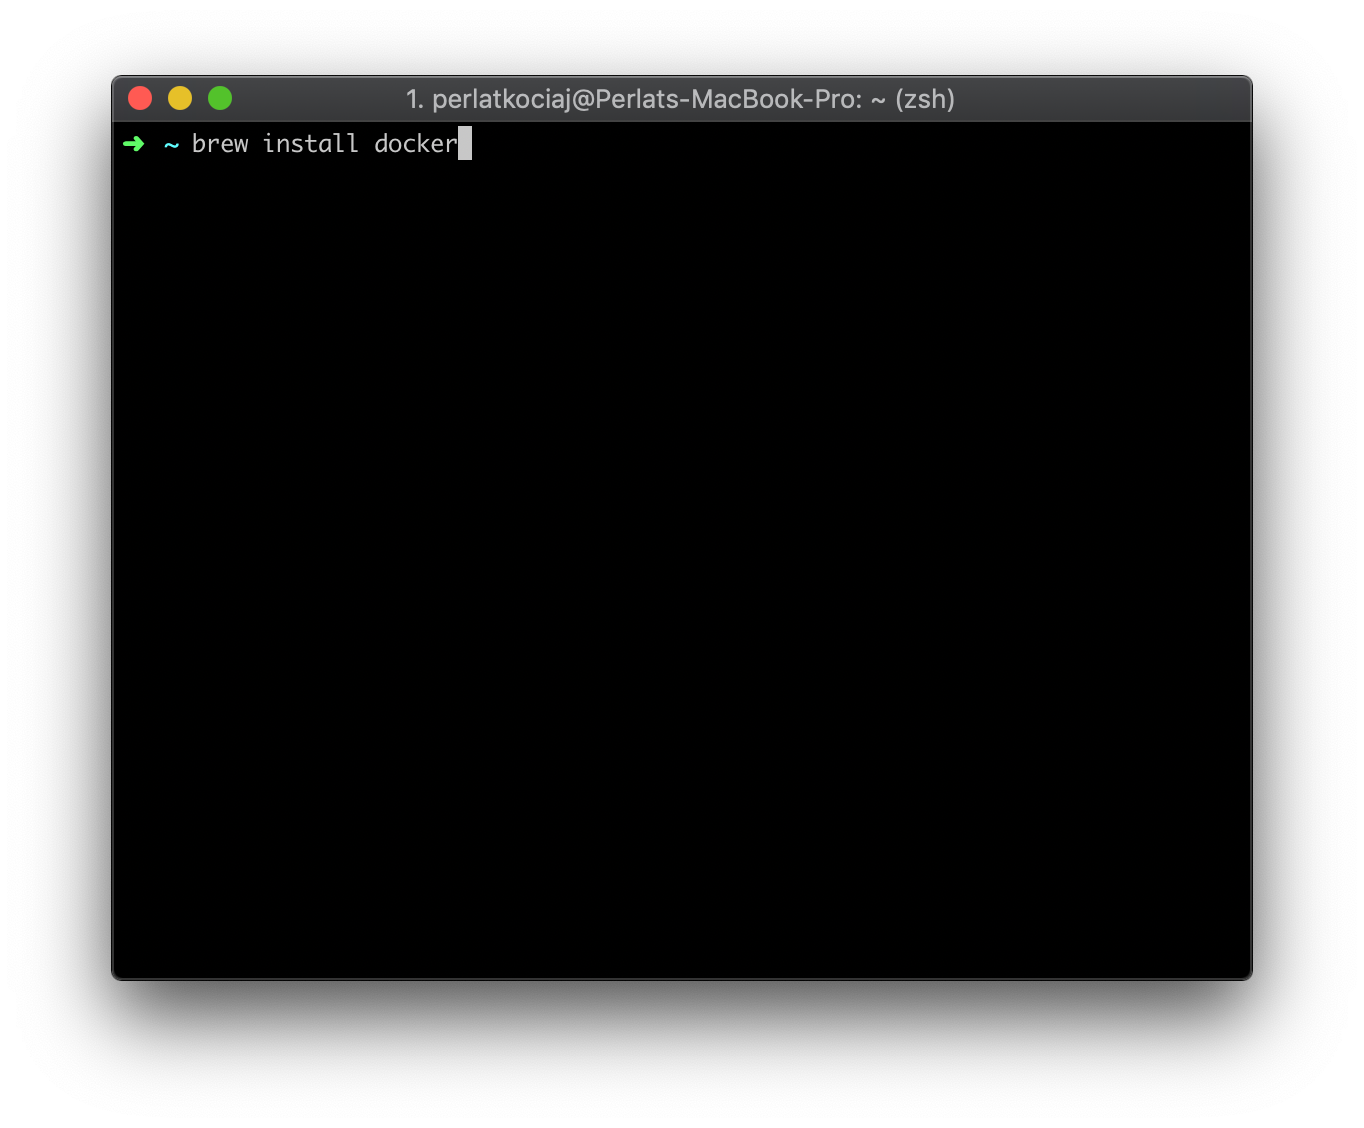
The second is to install it via homebrew the MacOS package manager. To install it open your terminal and type the following command
bash

~ brew install docker
Next step is to run docker and the easiest way to do it is by pressing CMD + SPACE and type docker and then ENTER. You should get a notification when docker is running.
Install Devilbox
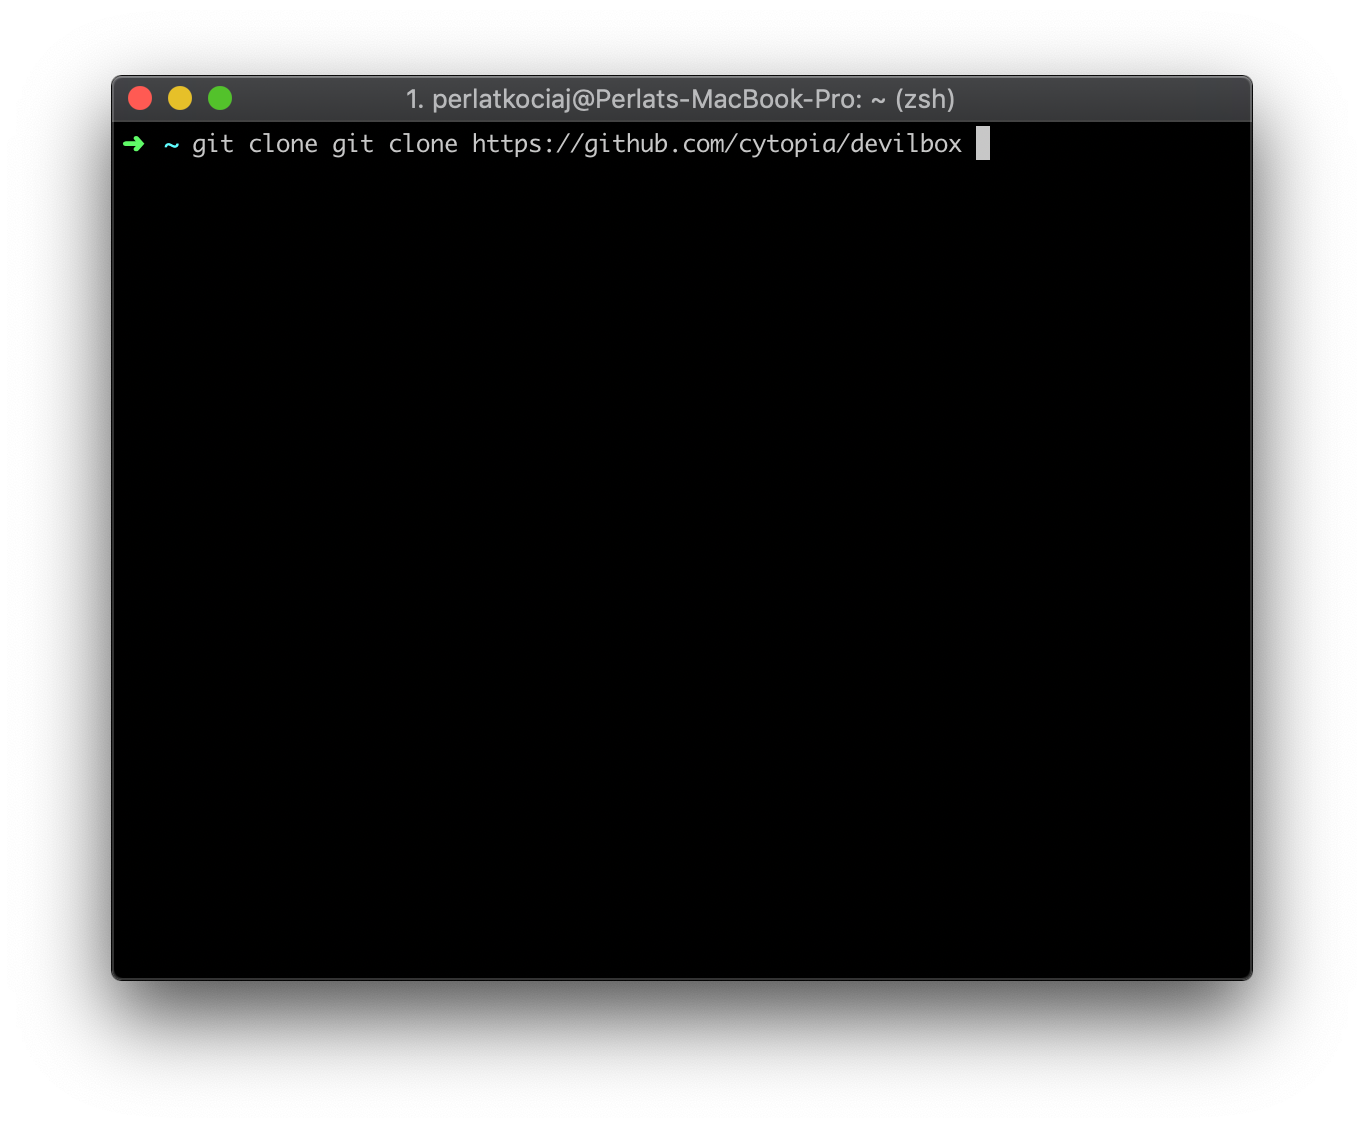
The Devilbox does not come with any install package to install it you have it clone the repository to your local machine. To achieve this, we use the command git clone REPOSTIORY_URL.git the project’s repo is hosted on GitHub. Let’s proceed to install devilbox.
Open a terminal window, and type git clone https://github.com/cytopia/devilbox and wait for the cloning process to finish.
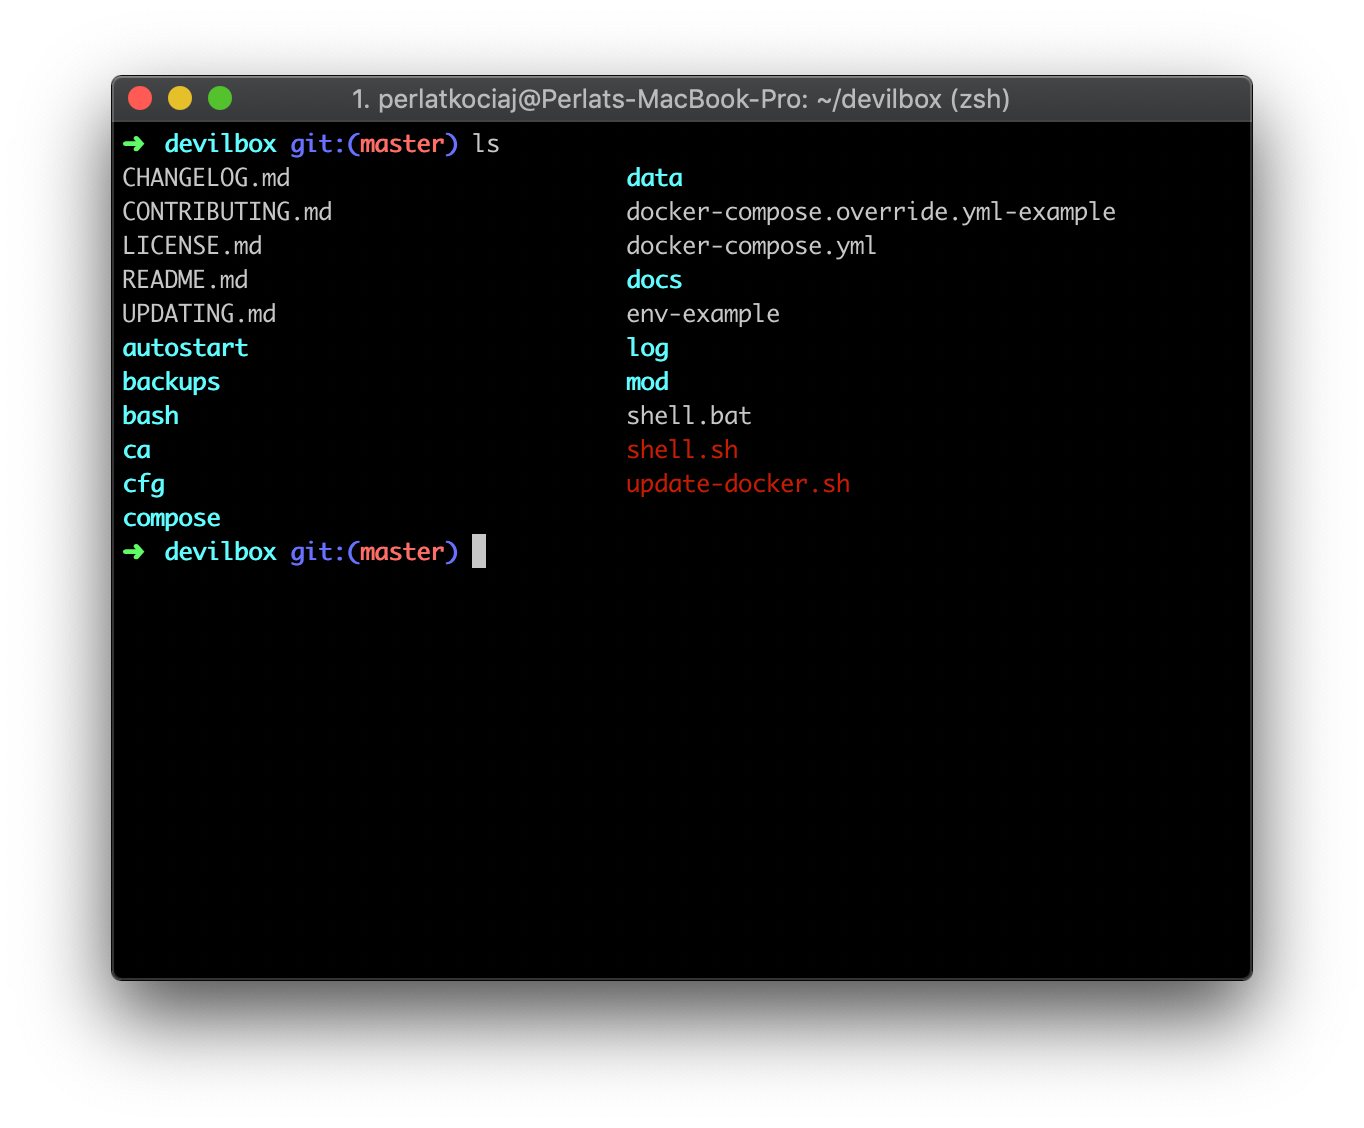
When the clone finishes you need to enter the devilbox directory by typing cd devilbox you should see the following.
.ENV file
Because the Devilbox is configurable via a .env file, our next step is to copy the env-example file to .envto so we can run the following command:
cp env-example .envStart Devilbox
The time has come, to launch the devilbox!
To launch the devilbox you need to run the following command on your terminal while you are instead the devilbox directory. docker-compose upnow it will pull all the required containers! The first time you run this it might take a while, depends on your internet connection. But once you have all the images, you should be able to start all the containers in a matter of seconds (~4-5 seconds).
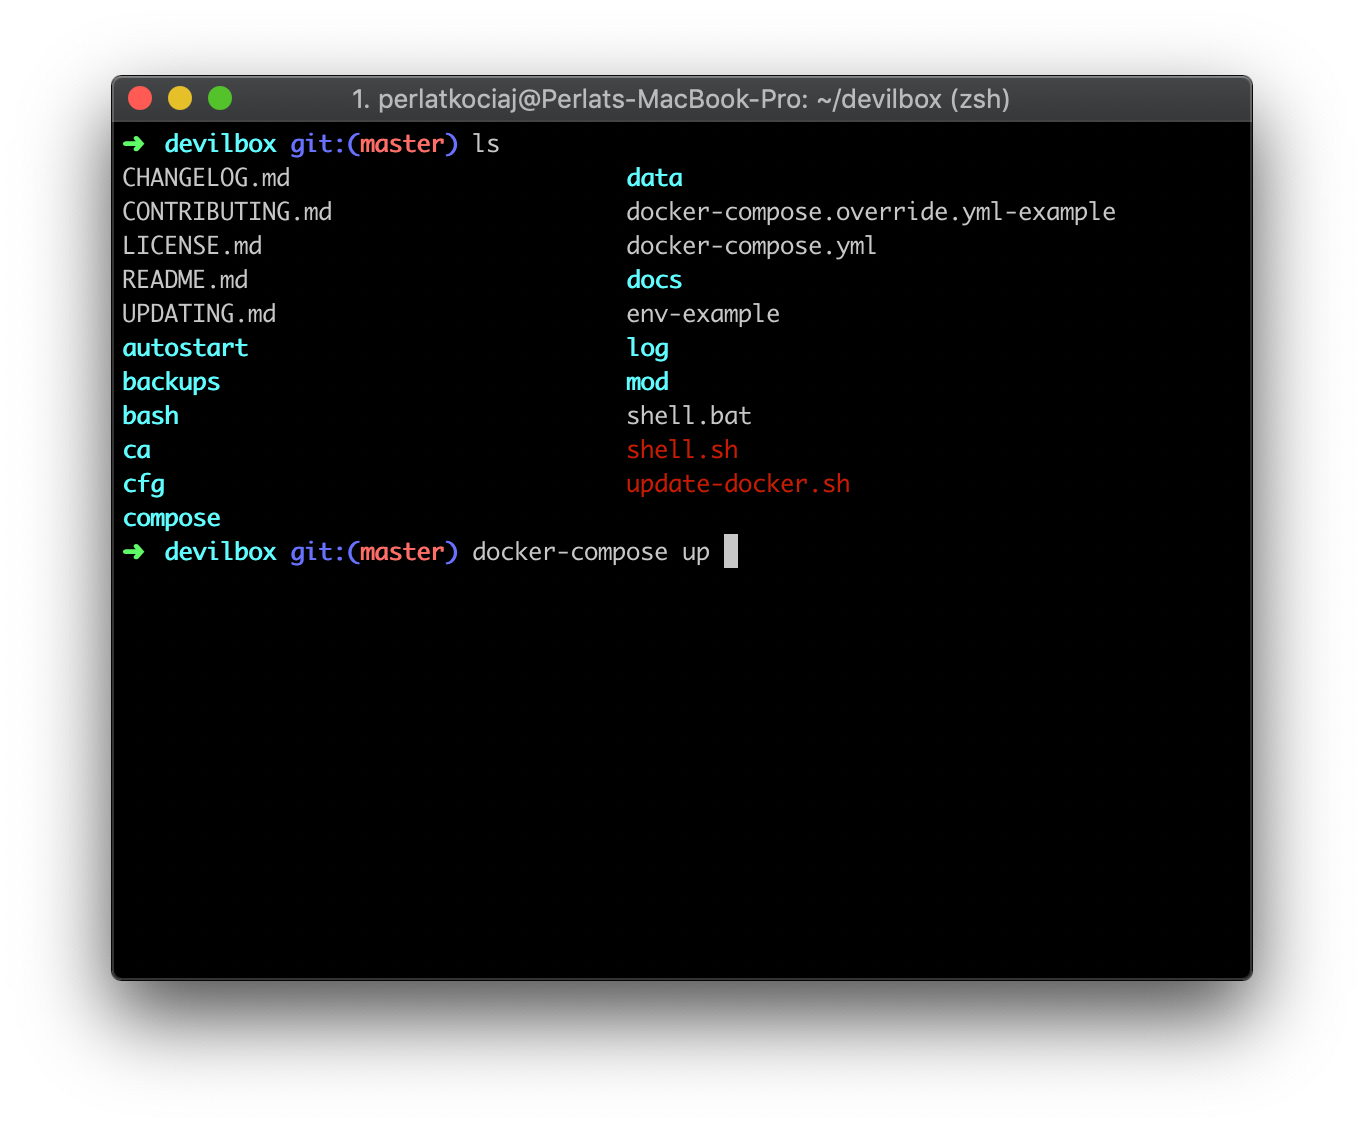
TIP! Run
docker-compose up -dto run the containers in the background detached from your current terminal window.
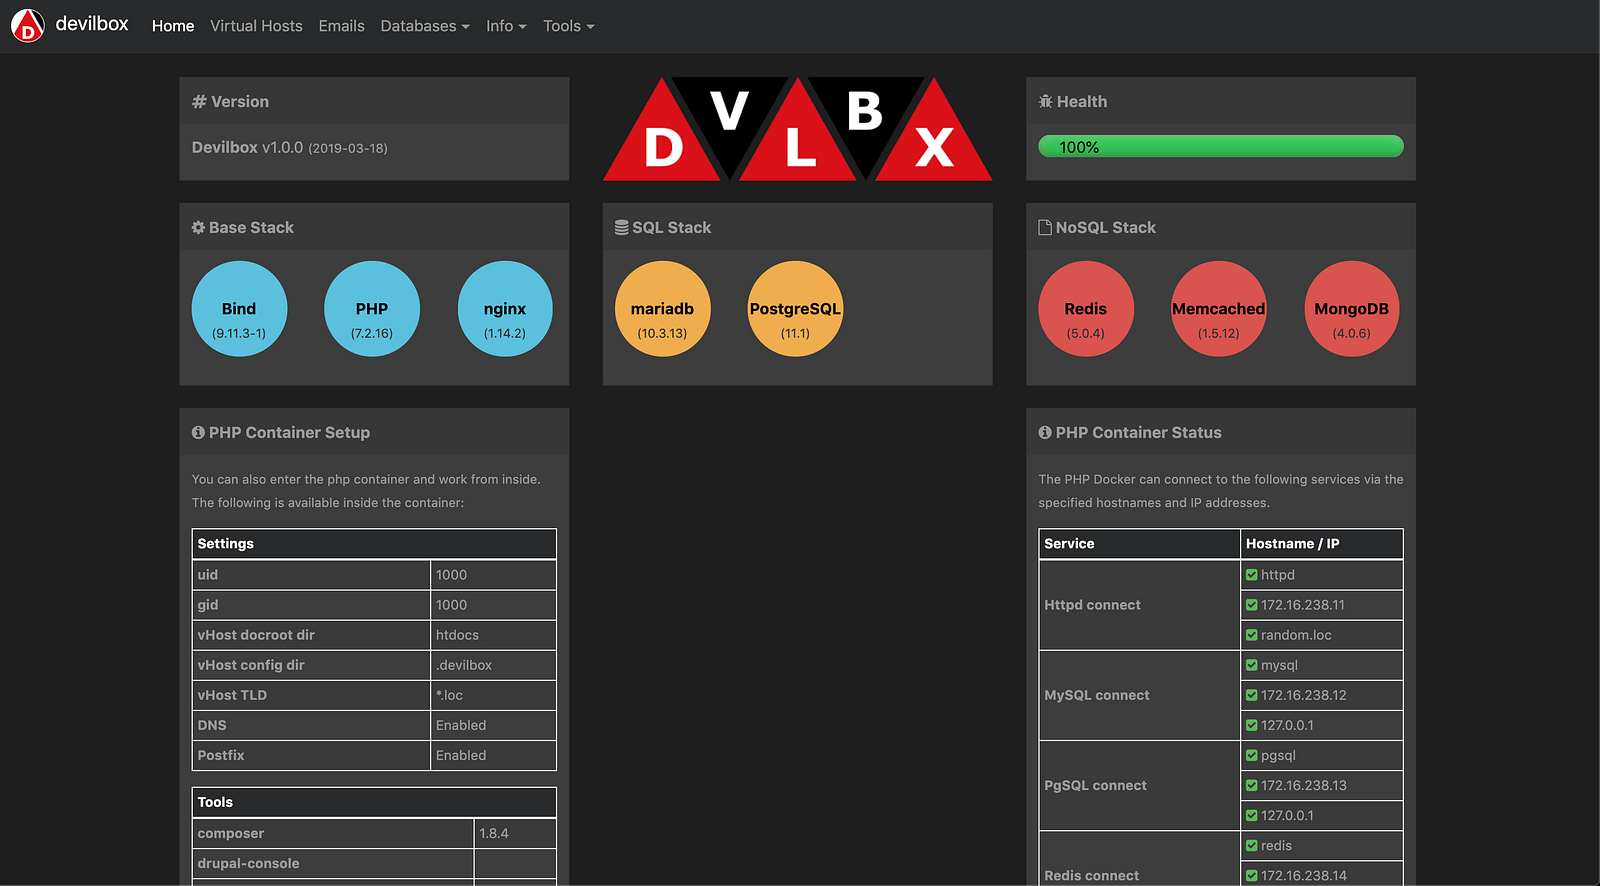
When all the images are pulled, you should be able to access devilbox localhost URL. By default, The Devilbox is listening to port 80 which means you can access it by visiting http://localhost
Starting and stopping containers is done via
docker-compose. If you have never worked with it before, have a look at their documentation for overview, up, stop, kill, rm, logs and pull commands.
More about starting The Devilbox here
Configuring Devilbox .ENV FIle
Devilbox is configurable and you can easily switch between dev environments like (PHP, APACHE, MySQL) or (PHP, NGINX, MariaDB).
just open the .env file with your favorite editor and configure it to match your taste environment. I am using Visual Studio Code

Every configuration is self-explanatory, the most common configuration will be the following where you change the PHP_SERVER version, HTTPD_SERVERand MYSQL_SERVER. As you can see, I am running PHP 7.2 NGINX stable and MariaDB 10.3 Go through the .env file to discover other settings.
Read more about configuring the env file here
Projects Directory
The devilbox’s projects directory is located inside the devilbox directory ./devilbox/data/www it should be empty by default. Here is where all your projects will live.
For each project, you will need to create a folder.
Read more here
Docroot Directory
The docroot directory is a directory within each project directory from which the webserver will serve the files.
By default this directory must be named htdocs. This can be changed as well but is outside the scope of this tutorial.
Local domain suffix
The default domain suffix (TLD_SUFFIX variable in .env file) is loc. That means that all your projects will be available under the following address: http://<project-directory>.loc. This can be changed as well in the .envfile TLD_SUFFIX!
WordPress Installation
Let us take an example of a WordPress installation from start to the end.
Open the terminal and run the following:
cd devilbox/data/wwwmkdir testwpto create a directory named testwpcd testwpenter the dir we just created- Download WordPress
wget http://wordpress.org/latest.tar.gz - Unzip the archive file by running
tar -zxvf latest.tar.gz - Run
mv wordpress htdocs(remember docroot directory?) - Open http://testwp.loc/ and you should see the following error.
**testwp.loc**’s server IP address could not be found.

testwp.loc’s server IP address could not be found.

DNS_PROBE_FINISHED_NXDOMAIN- This happens because we have not added the local host DNS record.
- If you navigate to http://localhost/vhosts.php you should see something like this.
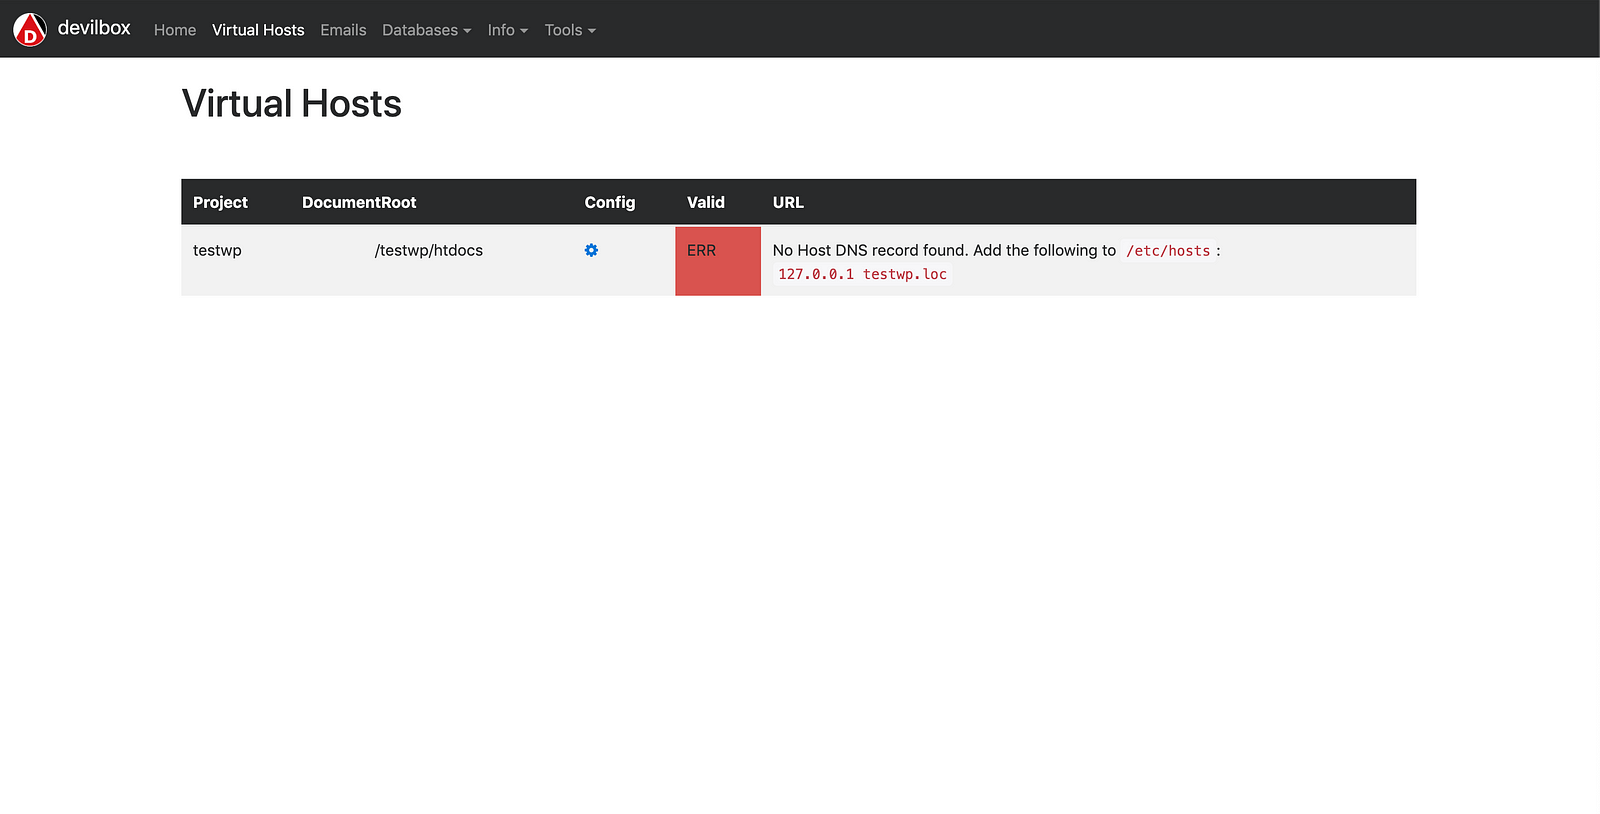
The next step is now to add the record in our hosts file. To do so, run sudo nano /ets/hosts to edit it with the nano editor and add the following line
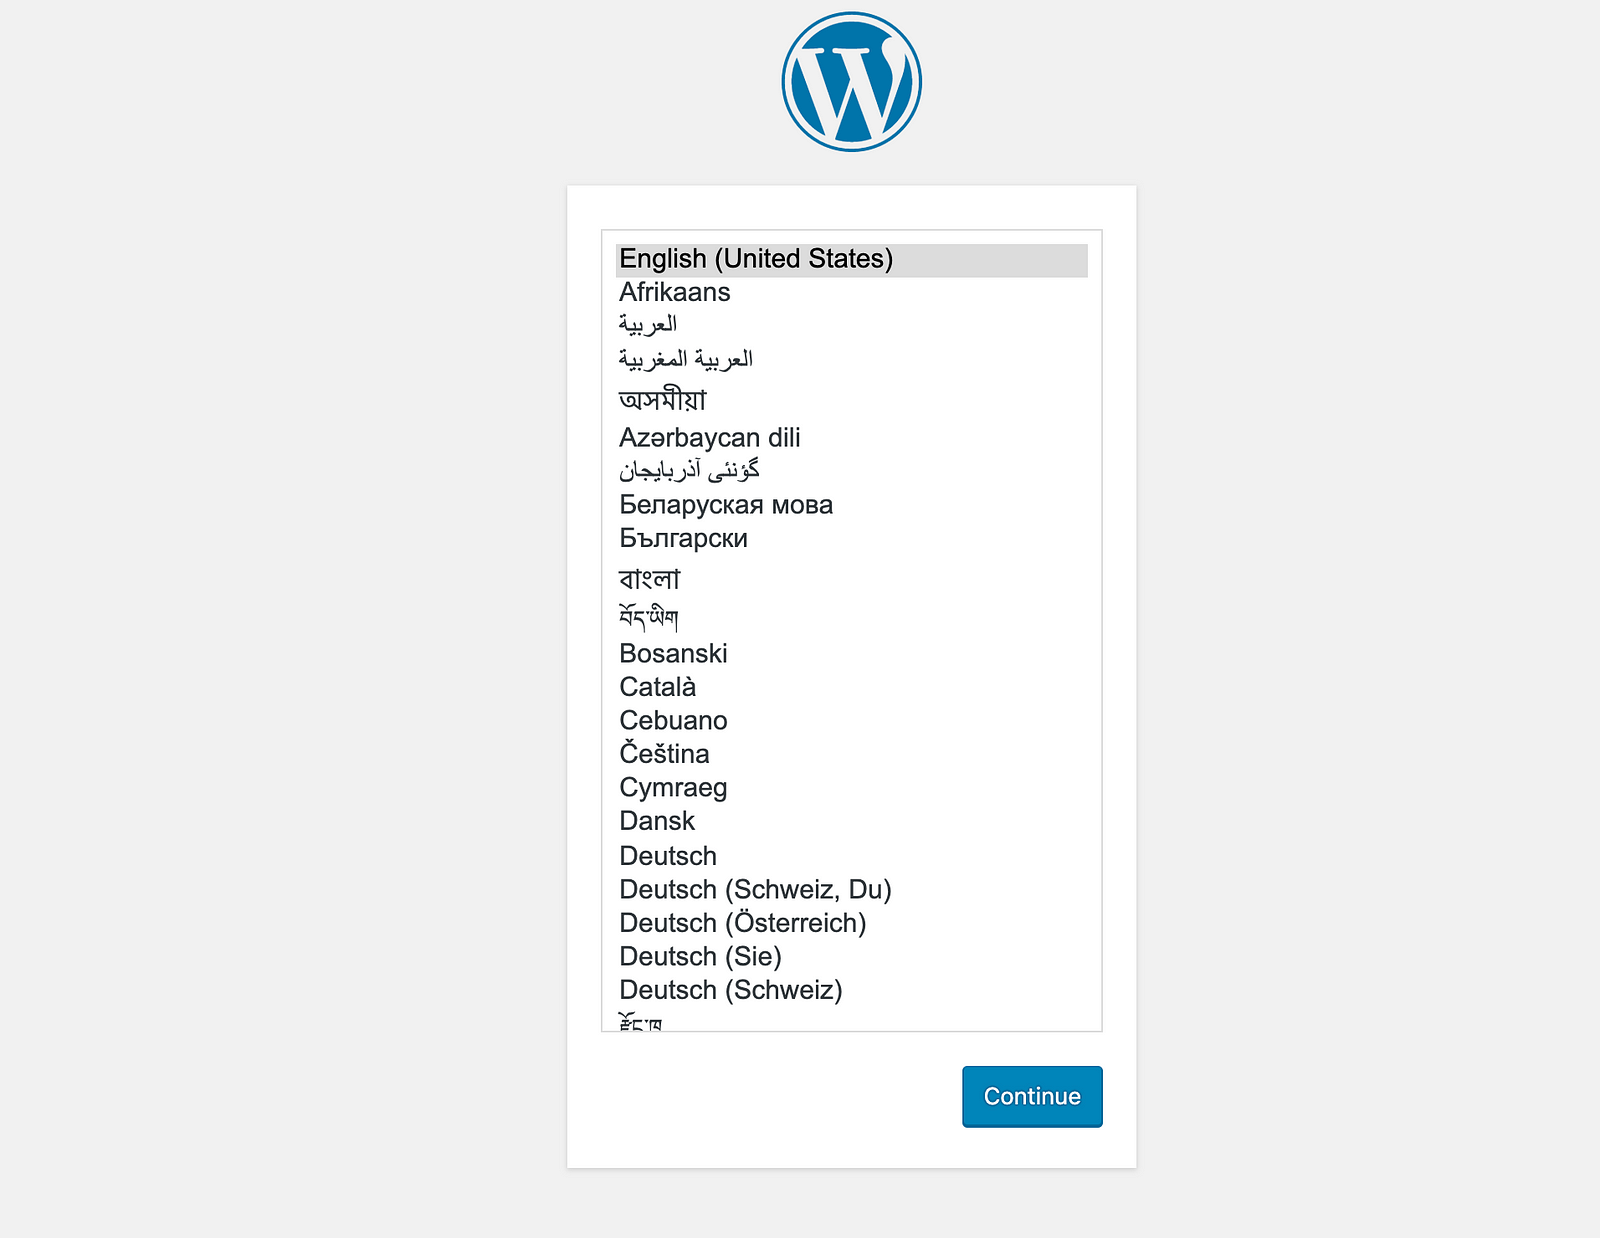
`127.0.0.1 testwp.loc`hit save. Navigate again to http://testwp.loc/ and now you should see the WordPress install page.
Next step now, is to create a database for WordPress to use. We can do it by using the terminal or by using PHPMyadmin which comes with the devilbox. To access phpMyAdmin first navigate to http://localhost/index.php> Tools > phpMyAdmin in case it asks for credentials enter root as user and leave the password field empty.
No create a new database from the sidebar, I will name it wp_testdb.
Once done that head back to WordPress Install Page and continue and add the freshly created database.
Note! For the Database host instead of
localhostyou need to entermysqlas this is the name of the MySQL server (container)running in the devilbox environment!
Everything should have run smoothly and you should see the new WordPress site up and running on http://testwp.loc
Conclusion
The Devilbox is a free and open source project very very easy to set up and run an PHP,Nginx MySQL dev environment and a WordPress installation read following this tutorial should take approximately 10 minutes! I have been using Devilbx for about 1 year now, and I am pretty happy with it and find it very convenient when I am working on a project with PHP 7, and I have to switch to a project running on PHP 5.6 it takes me less than 15seconds! ⏲
Have you used The Devilbox before? Would you give it a try?
Join the newsletter.
I'm kind of experimenting with this whole "building a mailing list" thing.
I mean, I heard it's a good practice, so why not give it a shot?
If you're up for it, feel free to drop your email address and who knows, you might possibly receive an update from me someday. Maybe. Or maybe not.
But hey, there's only one way to find out, right?